Important:The person creating a PASSPort account for their organization automatically becomes a Vendor Admin.
Register a NYC.ID
A NYC.ID is a secure sign-in that provides access to online services at multiple NYC government agency websites. PASSPort uses NYC.ID credentials.
If you have already registered a NYC.ID, go to the next step.
Note: Do not confuse NYC.ID with IDNYC.
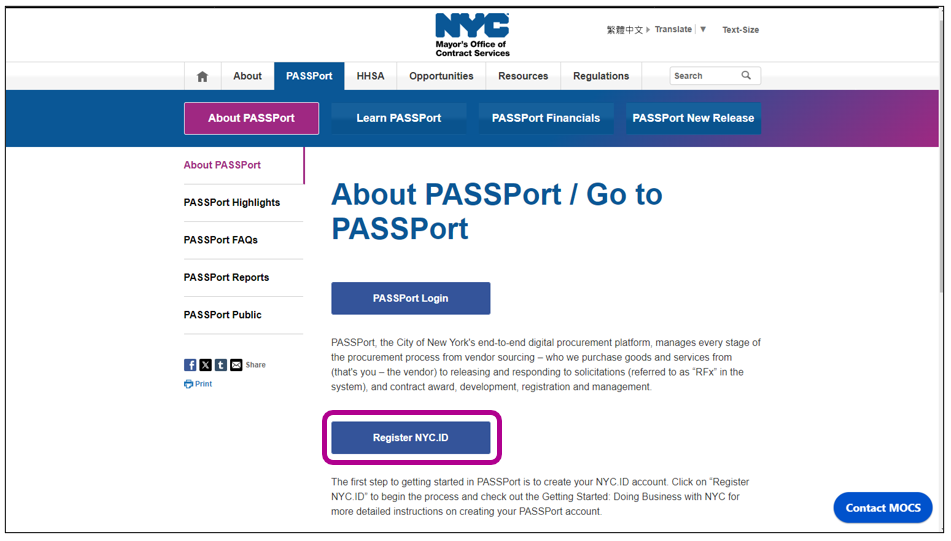
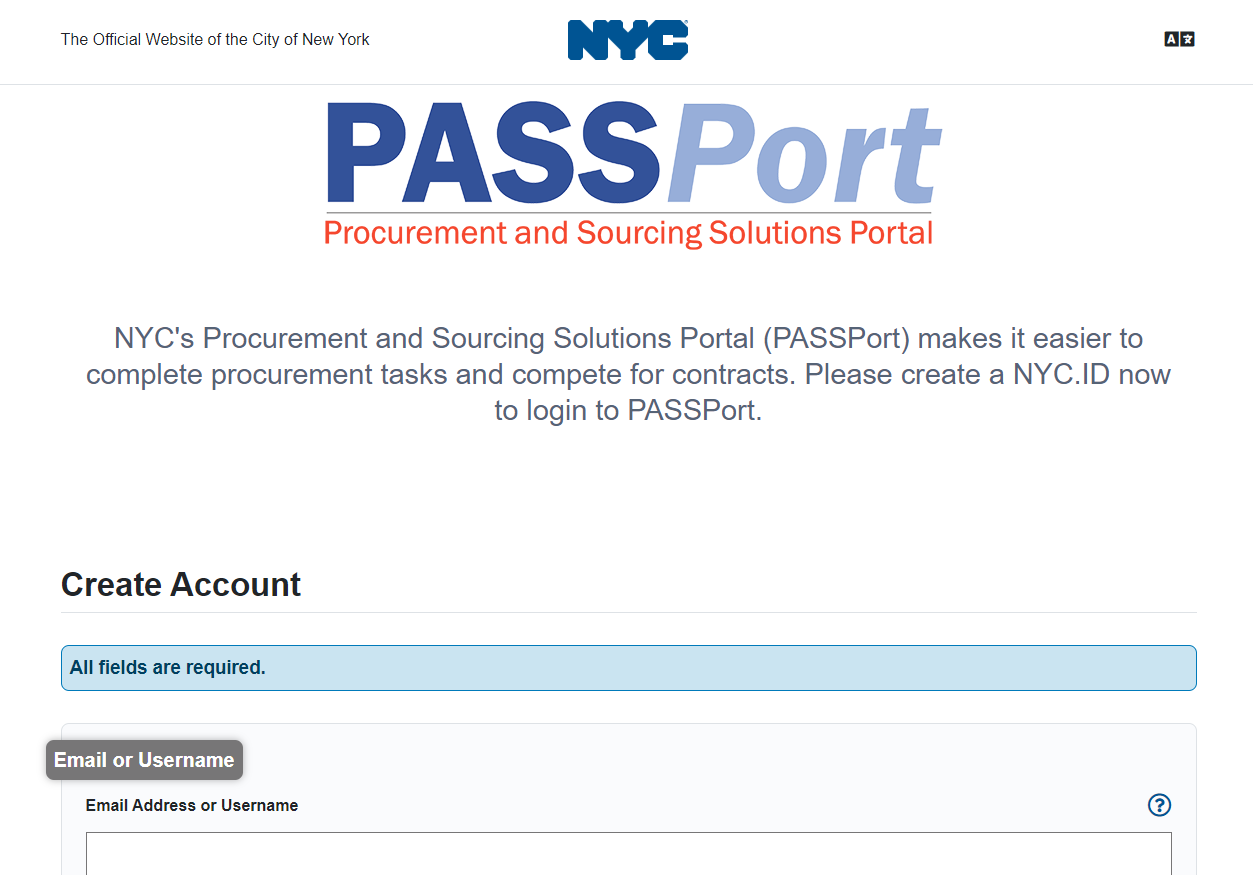
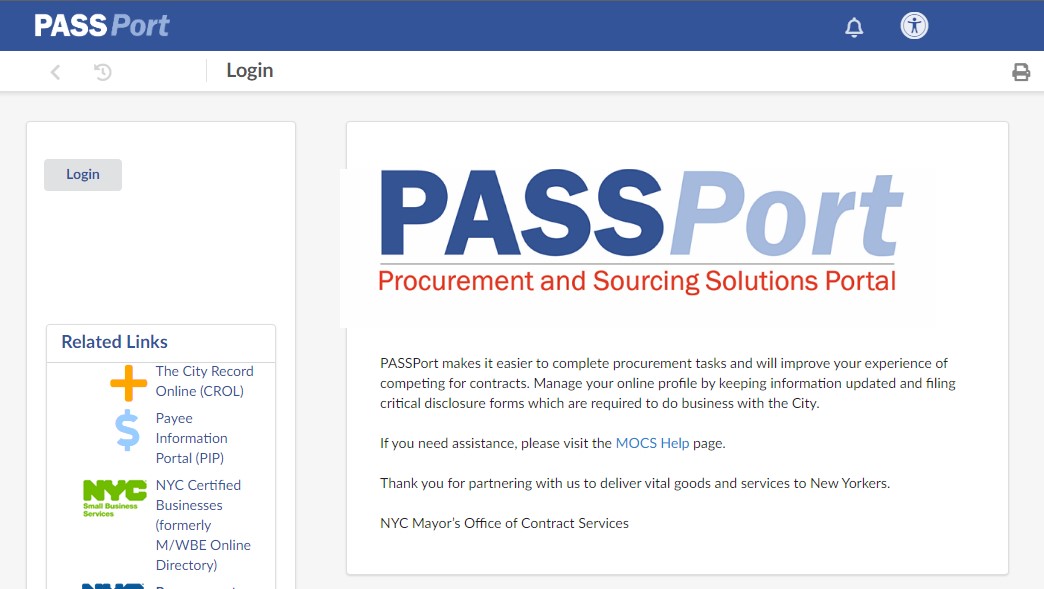
To create a NYC.ID visit nyc.gov/passport and click the Register NYC.ID button.
Screenshot of the About PASSPort/Go to PASSPort page.
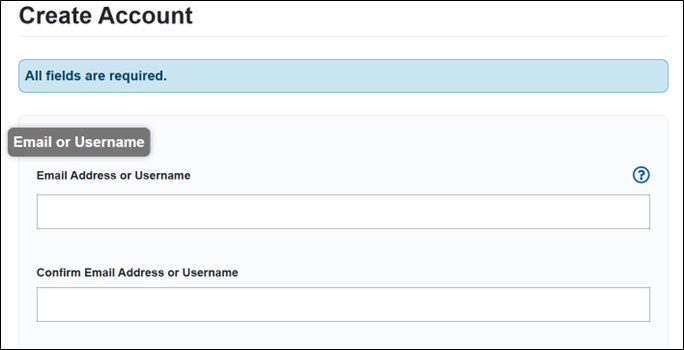
You will be directed to the NYC.ID Create Account page.
In the Email Address or Username text field, enter your email address.
In the Confirm Email Address or Username text field, enter your email address again.
Note: This email address will be what you use to log in to PASSPort. Notifications will be sent to this email.
Screenshot of the Email or Username section.
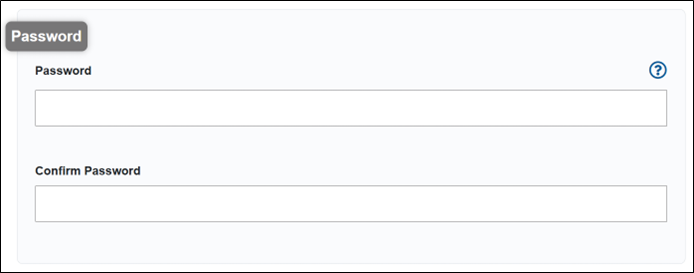
In the Password text field, enter a password.
Your password must:
Be at least 8 characters long
Include at least 1 uppercase letter
Include at least 1 lowercase letter
Include at least 1 number character
Include at least 1 special character from this selection: &, *, #, !, @, %
In the Confirm Password text field, enter your new password again.
Screenshot of the Password section.
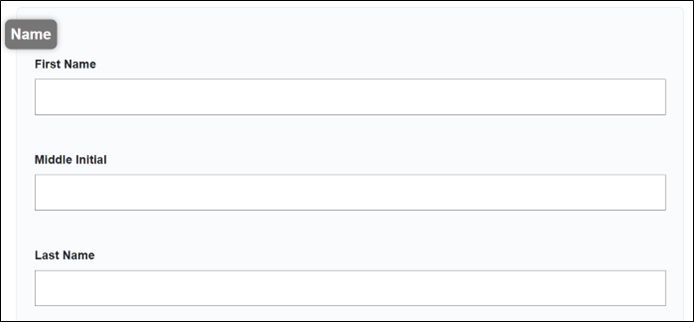
In the First Name text field, enter your first name.
In the Last Name text field, enter your last name.
In the Middle Initial text field is optional.
Screenshot of the Name section.
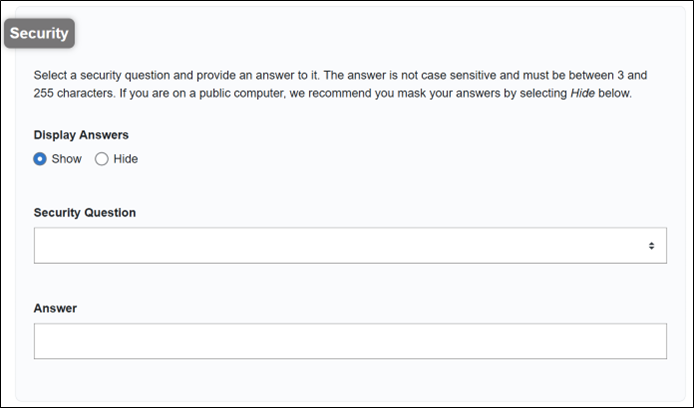
Click on the Security Question drop down field to open a menu of possible questions. Select one as your security question.
In the Answer text field, enter your answer to your security question.
Screenshot of the Name section.
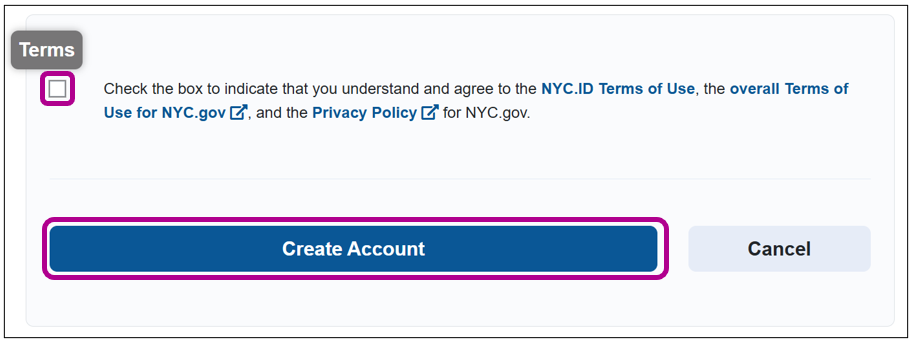
Review the linked terms of use and privacy policy for NYC.ID and NYC.gov.
Click the checkbox to agree to the terms of use.
Click the Create Account button.
Screenshot of the Terms section.
Check your email inbox for an automated confirmation email from noreply@nyc.gov with the subject line: NYC.gov – NYC.ID Confirm Your Email Address.
Follow the instructions in the email to confirm your email address. Confirmation must be done within 24 hours of receipt.
If you have not received a confirmation email, check your spam or junk folder. If you cannot find a confirmation email, contact the MOCS Service Desk.
Screenshot of the confirmation email.
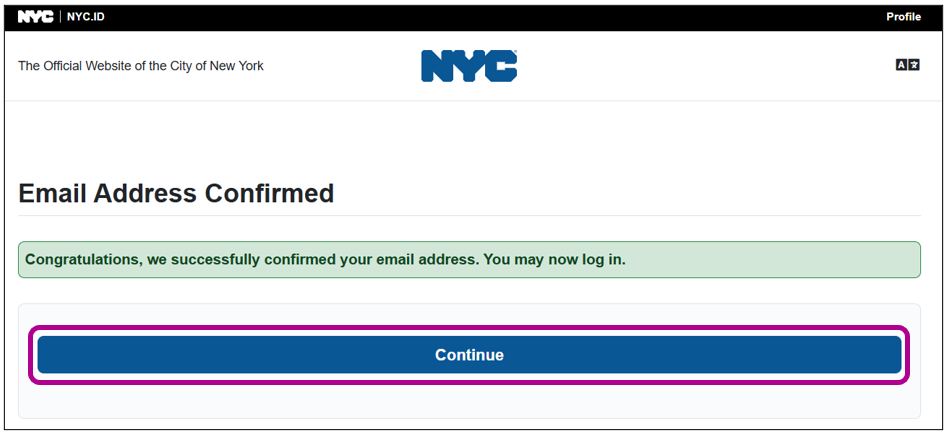
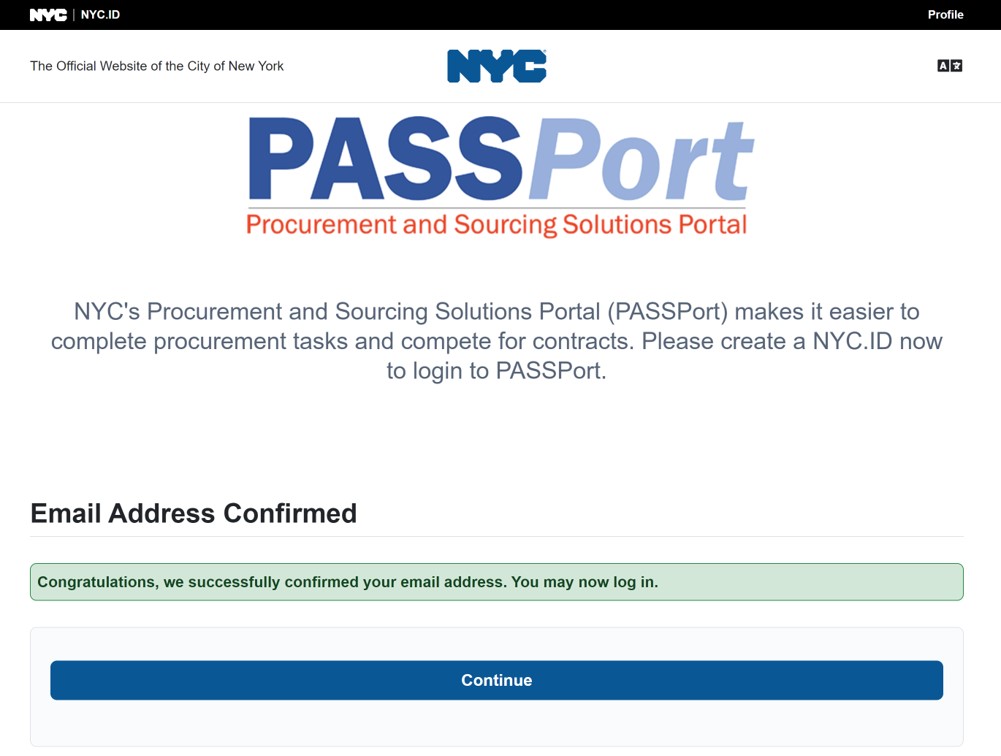
If you followed the instructions to confirm your email address, a new page will open and display the message: Email Address Confirmed.
Congratulations! You have successfully created a NYC.ID.
Click the Continue button to go to the PASSPort Login page.
Screenshot of the Email Address Confirmed page.
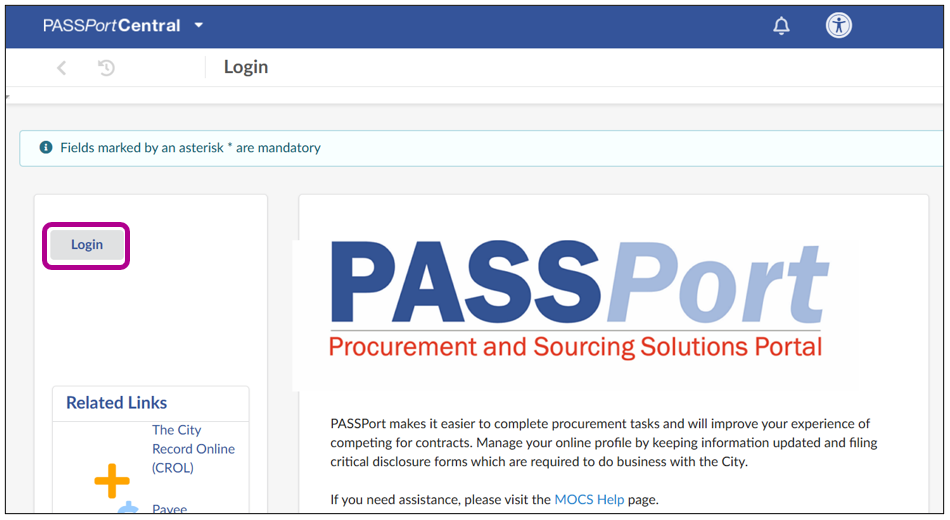
On the next screen, click the Login button.
Screenshot of the PASSPort page to reach login.
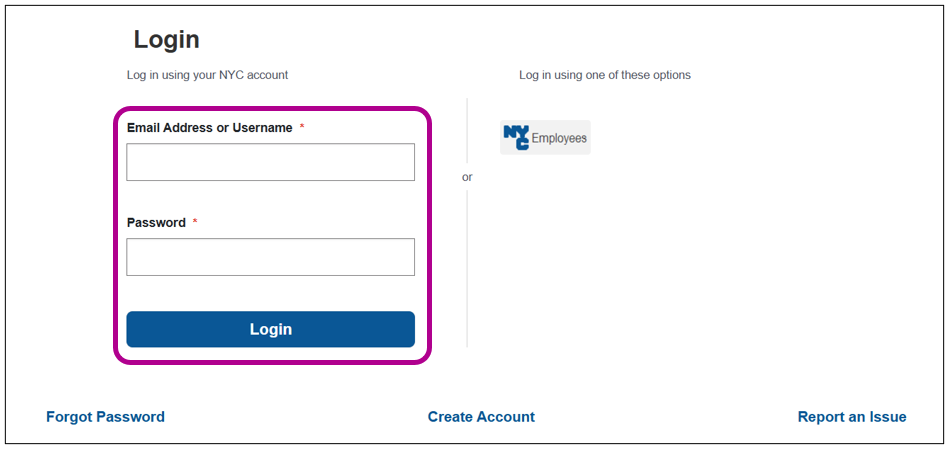
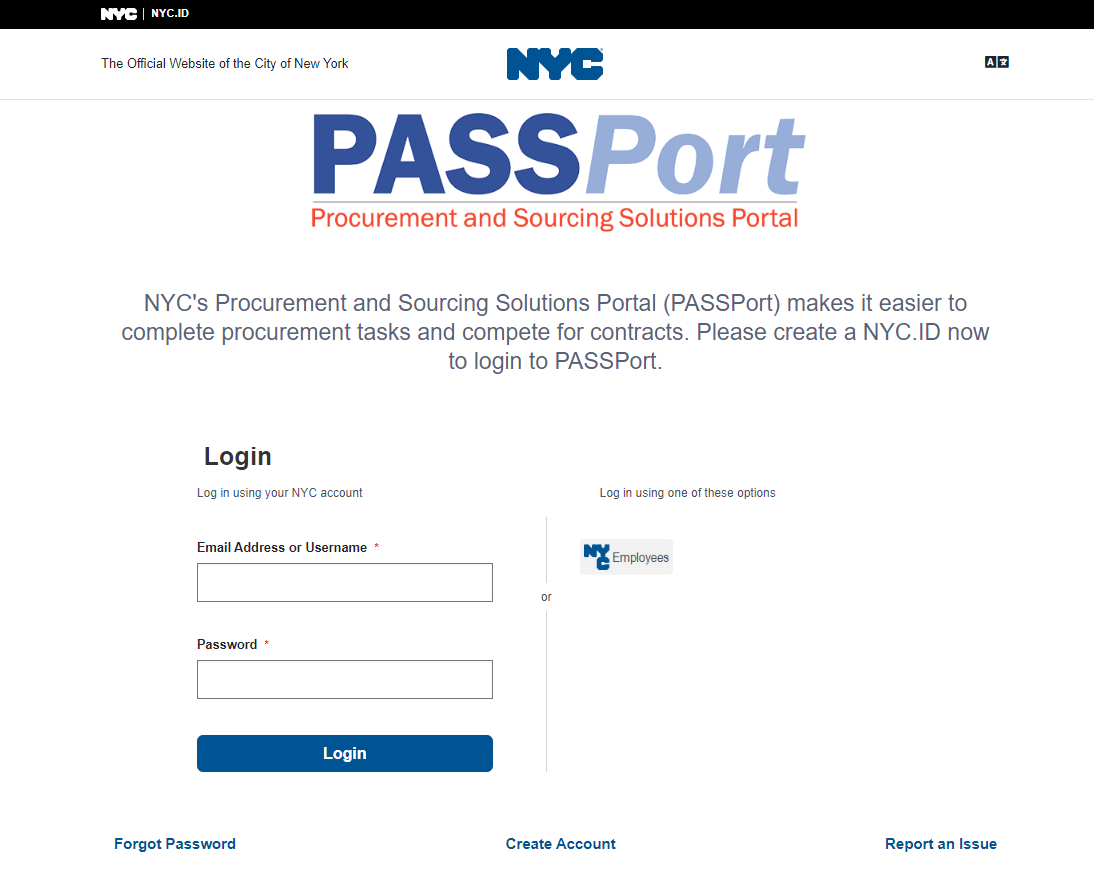
In the Email Address or Username text field, enter the email address you used for your NYC.ID.
In the Password text field, enter the password you used for your NYC.ID.
Click the Login button to log into PASSPort.
Note: PASSPort checks if your email address is associated with an existing vendor account. If your email matches the email of a vendor account, you will be logged in to PASSPort. Otherwise, you will be prompted to complete a PASSPort Account Request.
Screenshot of page to login using NYC.ID email address and password.
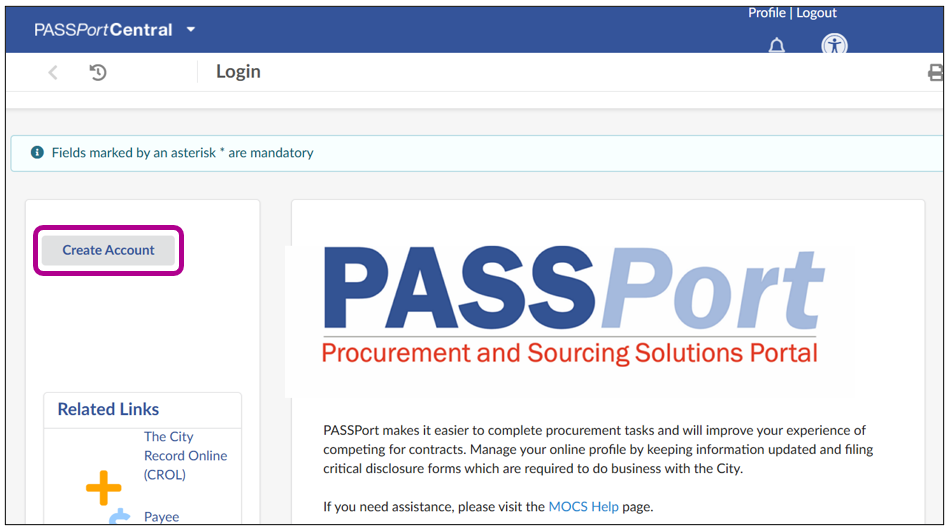
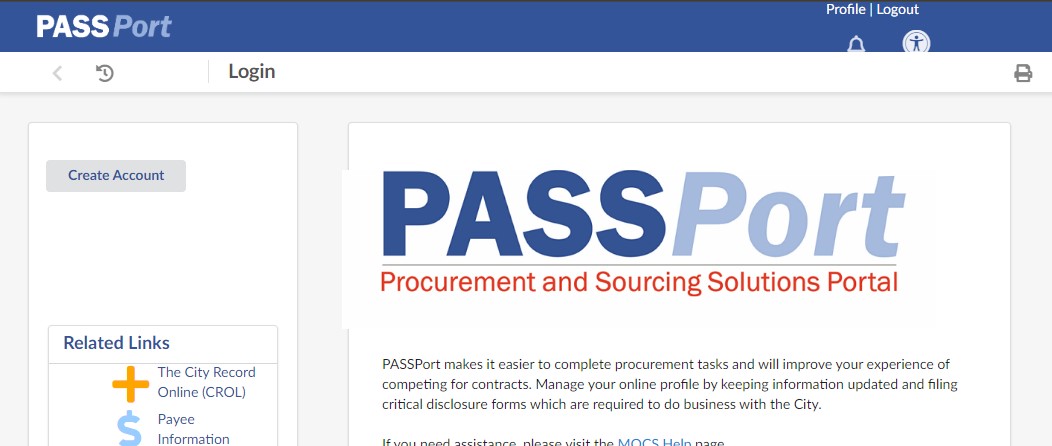
Important: The contact requesting the PASSPort account on behalf of the organization automatically becomes a Vendor Admin for the PASSPort account. A Vendor Admin has full PASSPort account administrator privileges and receives all PASSPort email notifications at the email address used when creating the vendor PASSPort account.
Click the Create Account button to create a vendor PASSPort account.
Screenshot of the page to create a PASSPort account.
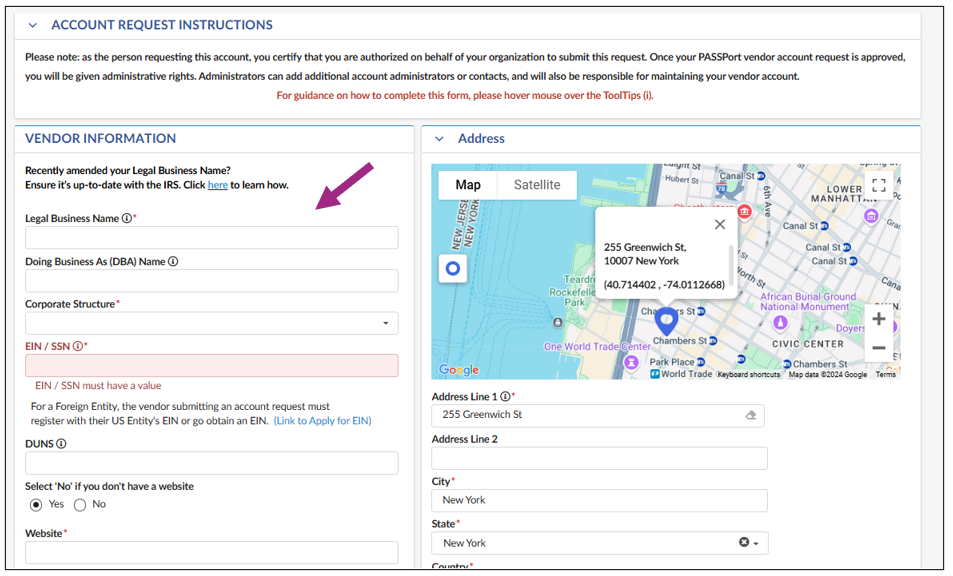
The Account Request form will appear.
Read the Account Request instructions at the top of the form. All fields with a red asterisk (*) are required fields.
In the Vendor Information section:
In the Legal Business Name text field, enter your legal business name. It must match the name on your Certificate of Incorporation.
Click the Corporate Structure drop down field to open a menu of options. Select the option that is your organization's structure.
In the EIN / SSN text field, enter your Employer Identification Number (EIN) or SSN.
In the Phone Number text field, enter your phone number using this format:
Numbers only
10-digits
Do not add 1 before the area code (Example: 2125551234)
Screenshot of the Vendor Information section of the Account Request page.
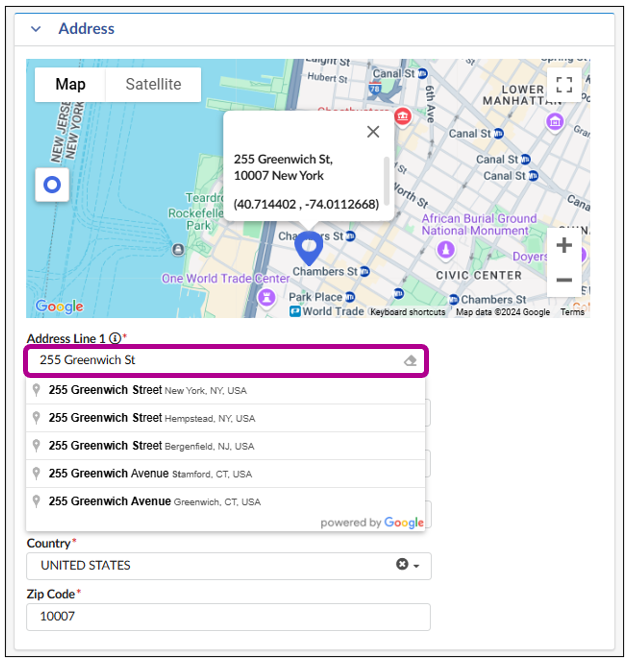
In the Address section below the map, enter your business address in the Address Line 1 text field.
As you type, location options will appear in a drop-down menu. Select the correct address. The following fields will auto-populate:
City
State
Country
Zip Code
Screenshot of the Address section of the Account Request page.
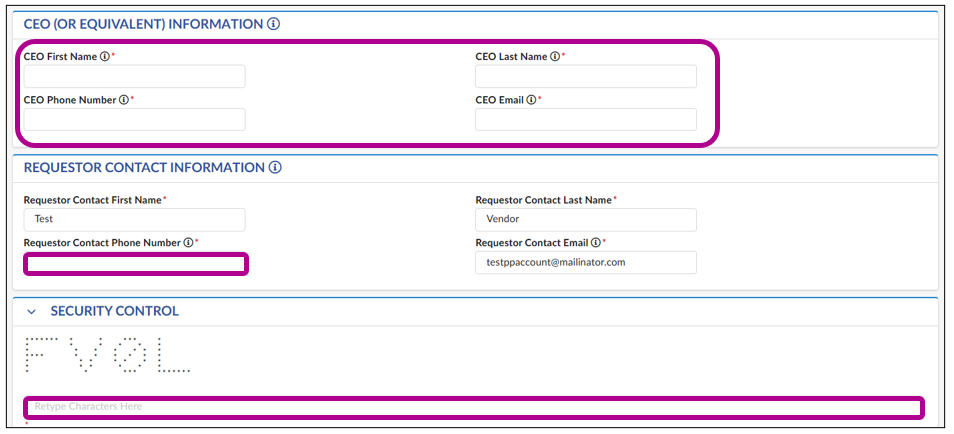
In the CEO (Or Equivalent) Information section, enter the following information:
CEO First Name
CEO Last Name
CEO Phone Number
CEO Email Address
In the Requestor Contact Information section, enter your phone number in the Requestor Contact Phone Number text field.
In the Security Control section, enter the alphanumeric security code into the unlabeled text field.
Screenshot of the bottom of the Account Request page.
Click the green Register button above the form to submit your organization's PASSPort account request to MOCS.
The request will be assigned to a member of the MOCS Team for processing and be processed in approximately 1 to 2 business days from time of submission.
Screenshot of the Register button at the top of the PASSPort Account Request page.
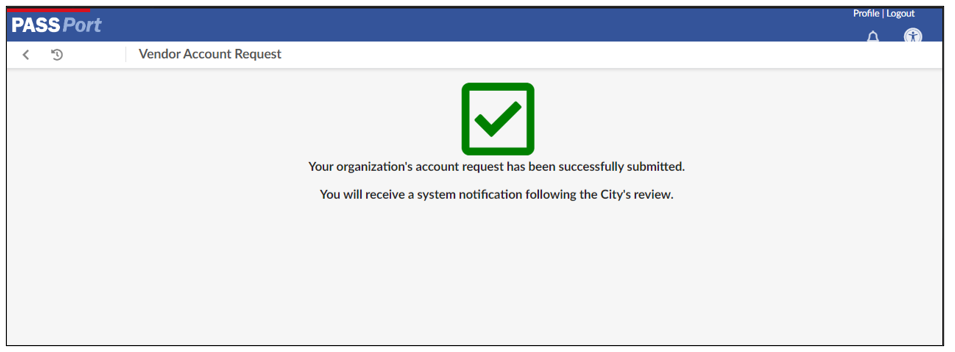
If your organization's account request is approved, you will receive an email notification from PASSPort as a final confirmation to log in to PASSPort. That completes the account creation process! Visit nyc.gov/passport to log in.
If your request is not approved, you will receive an email from PASSPort indicating why your request was denied. You can resubmit your request after reviewing the reason.
Screenshot of the account request submission confirmation message.
Important: Attention Health and Human Service Providers
In addition to creating a PASSPort account, organizations providing Health and Human Services (HHS) must complete the Health and Human Service Prequalification (PQL) Application in PASSPort.
Once your organization has an approved PASSPort account, continue the momentum to complete your next task as a vendor to be ready to do business with the City. Visit the Contracting Roadmap page where there are resources for new and prospective vendors.
Make sure the right individuals at your organization have access to your PASSPort account and have the user roles to complete specific tasks. To learn more, refer to the Add Vendor Users and Assign Roles guide on our website’s Resources Library page.
Frequently Asked Questions (FAQ)
Have questions? MOCS developed a catalog of frequently asked questions sourced from common questions asked by vendors. Visit our PASSPort FAQ page on the MOCS website to get answers to your questions in a snap!
Screenshot of page to login using NYC.ID email address and password.
In the Email Address or Username text field, enter the email address you used for your NYC.ID.
In the Password text field, enter the password you used for your NYC.ID.
Click the Login button to log into PASSPort.
PASSPort checks if your email address is associated with an existing vendor account. If your email matches the email of a vendor account, you will be logged in to PASSPort.
Screenshot of the page to create a PASSPort account.
Click the Create Account button to create a vendor PASSPort account.
Enter your organization's information
Read the Account Request instructions at the top of the form. All fields with a red asterisk (*) are required fields.
In the Vendor Information section:
In the Legal Business Name text field, enter your legal business name. It must match the name on your Certificate of Incorporation.
Click the Corporate Structure drop down field to open a menu of options. Select the option that is your organization's structure.
In the EIN / SSN text field, enter your Employer Identification Number (EIN) or SSN.
In the Phone Number text field, enter your phone number using this format:
Numbers only
10-digits
Do not add 1 before the area code (Example: 2125551234)
In the Address section: below the map is the Address Line 1 text field. Enter your address.
Click the green Register button above the form to submit your organization's PASSPort account request to MOCS.
Your request will be sent to MOCS and processed in about 1 to 2 business days from time of submission.
Account approval
If your organization's account request is approved, you will receive an confirmation email from PASSPort. Visit nyc.gov/passport to log in.
If your request is not approved, you will receive an email from PASSPort giving the reason why your request was denied. You can resubmit your request after reviewing the reason.